 This verse from 1 Corinthians is a personal favorite of mine. There hasn't been a time in my life where I haven't carried my bible to church in some way. For most of my life it was using the typical Bible Cover. I've had my Bible in store bought ones and thanks to my mother even a handmade one. Recently I went on the search for a new cover and made a surprising discovery I never knew about. What Are They?A Bible cover is as simple as it sounds. A cover that protects your Bible and often has pockets of some kind to store papers or pens. (And let's all admit we've stored too many old bulletins. :D) A Bible tote is really just a tote bag of some kind you carry your Bible and pens in that fits the Bible's size. More often than the other one, totes will have longer handles and often have inner pockets similar to purses. Both of them are just personalized Bible covers. When I needed to replace my old Bible, which pages were falling out of the binding, I wanted to have a new one with lots of notes. I was so happy to find the Life Application Study Bible, but now I needed a new cover to protect it... and to carry it. As a hardcover book this Bible was a lot heavier than my last one. (More notes = more pages) So off I went shopping online for just the right cover. If you know anything about how I shop it can be almost insane to watch. I will search every site I can think of to find what I am looking for and have maxed out the computer's ability to open new tabs more than once. XD After a couple of hours I found one I loved.  Some of my favorite bookmarks, the crochet ones I made of course. It has to have been three years or more I've had this cover and I loved it. Only drawback is because of the Bible's weight. Being so heavy carrying it on my arm can make it sore, not to mention trying to direct two children while holding onto it. 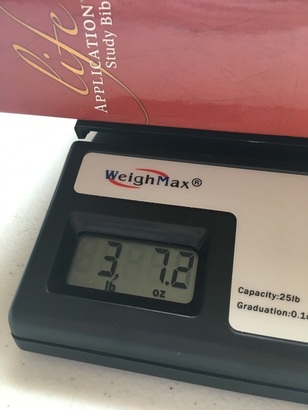 Told you it was heavy. Then came the second problem... in the form of our cats. Yes, cats are adorable and I love ours even with their quirks. My least favorite thing our Tuxedo cat Zunar does is knead various objects, usually something of mine.... go figure.  Don't believe the angelic pose. 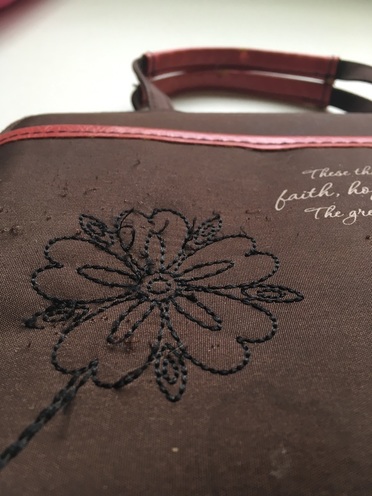 Zunar was here... These puncture marks and loosening stitches are just one of many examples of his handiwork. Sometimes I even caught him kneading my Bible when it was on the table! So because of this, the weight issue, and the leather handles coming apart I was once again in search of a Bible cover. Hello PinterestAs an artist I love getting inspiration from other people and seeing what they create. I actually avoided Pinterest for the longest time, knowing once I started I was going to be hooked. I was right! My favorite thing by far is being able to save the pictures and if I want to dig deeper head over to the site it's from. I was toying with the idea of crocheting my own Bible cover, which would be my second attempt. The first one I made while nice, was just too simple a stitch and though pretty, didn't suit my tastes in the end. Covers are easy to make and can be embellished with oh so many delicious things. It was while I was searching for ideas I came across these beauties. Bible Totes... who knew?
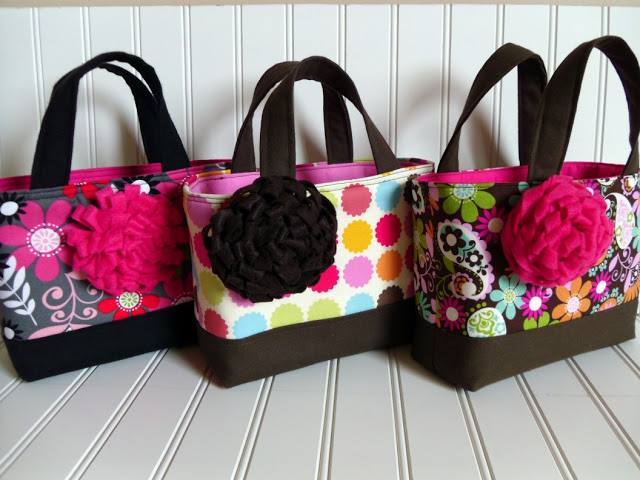
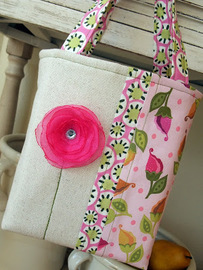
I caught myself with my mouth wide open! What on earth is a Bible tote and where can I get one?! I just had to know more so I dug into the internet and visited Amy's site over at Ameroonie Designs. I love the fabrics, the flower embellishments, and the color scheme! (I have a weakness for pink and black floral prints at the moment.) While I didn't end up purchasing one from Amy (she is on Etsy as well) and I didn't want to sew one myself (Lil' Girl Springtime's tutorial) I did discover I wanted a horizontal style instead of vertical. The Result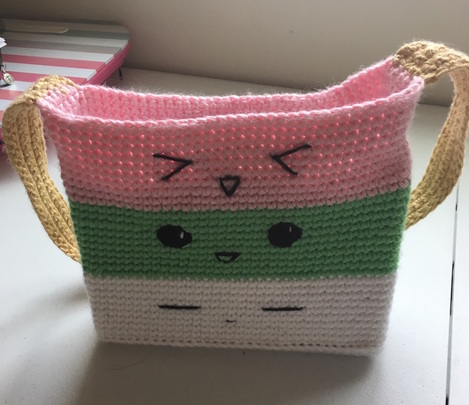 I present the Mochi Bible Tote! You should recognize these cute little faces from my studio. These three little mochi are a favorite creation of mine and sort of represent myself and my two daughters. (Sophie is the silly pink one, Lara the smiling green one, and I'm the sleeping happy white one. Comes with being a mom and chasing your kids a lot.)
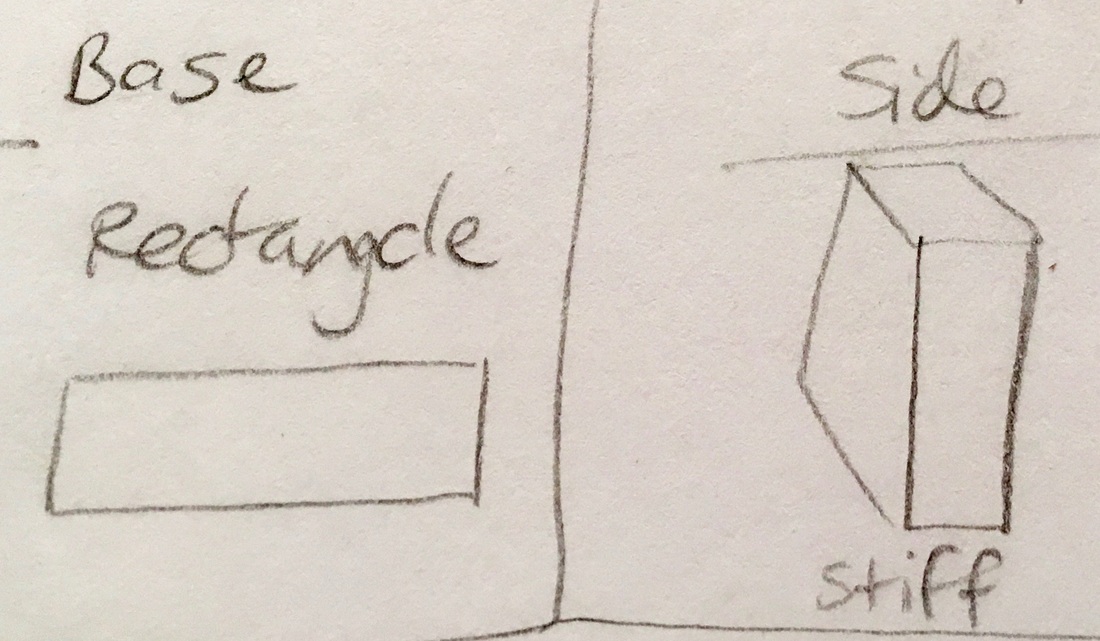
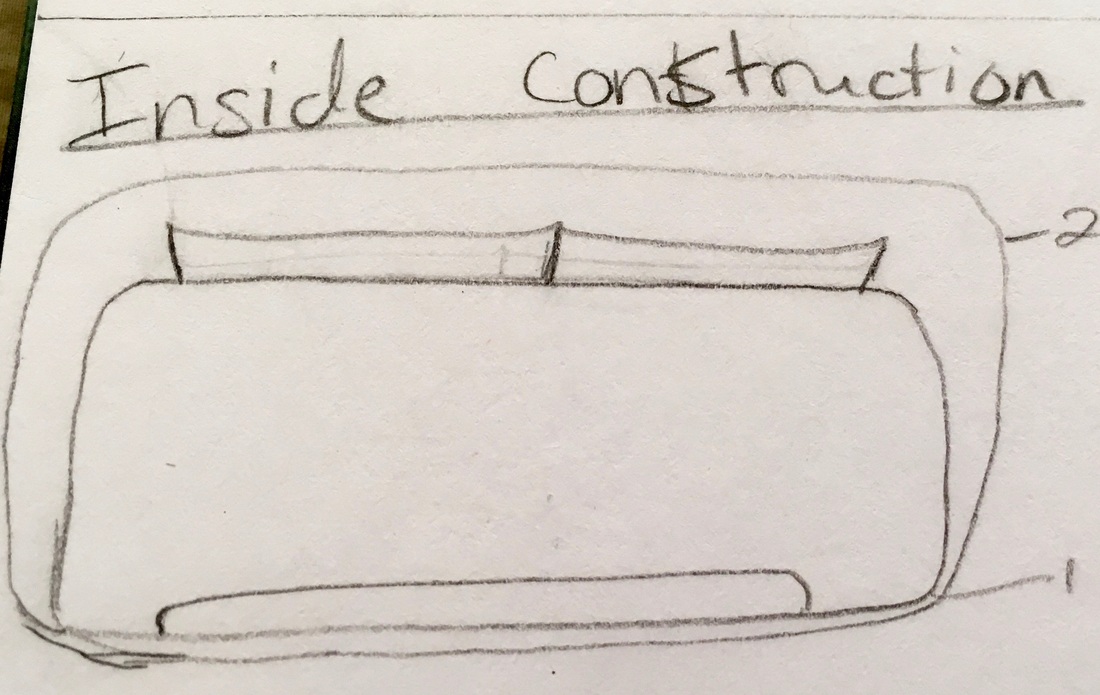
It ended up being more of a square shape than horizontal, but I'm glad I did it that way so the faces weren't so squished. I'll be talking about the construction of the tote in another post including some of the challenges I faced making it in crochet. What do you think about these covers and totes? What kind is your favorite? Share your thoughts in the comments below! 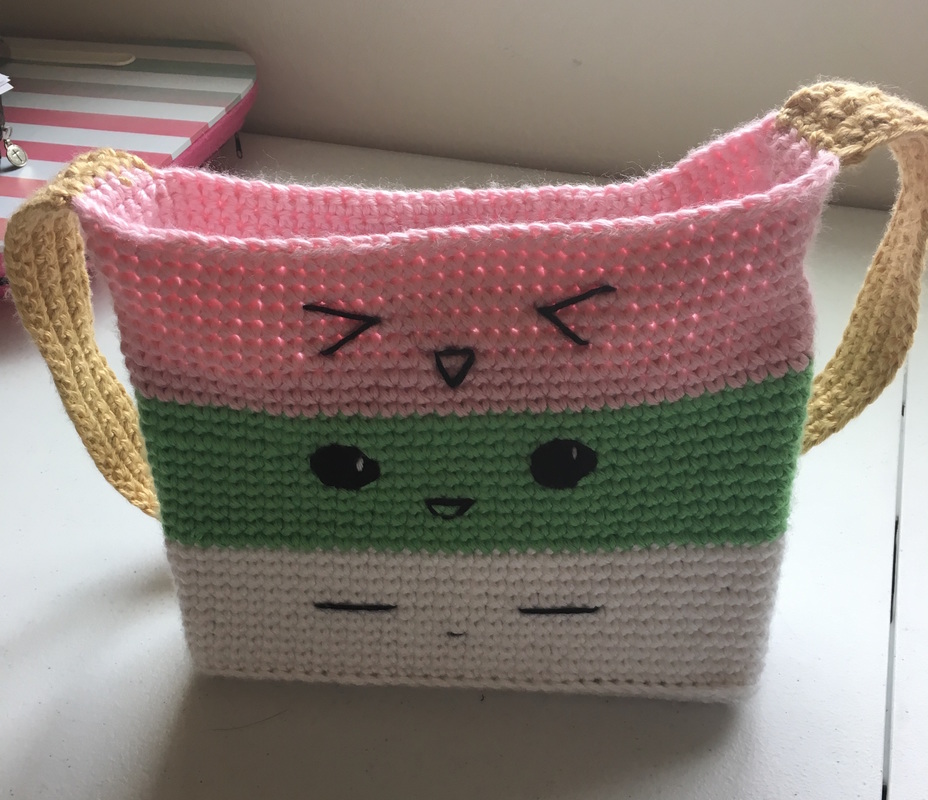 Mochi Bible Tote Last time I talked about my search for a new Bible cover and discovery of Bible totes in the Cover vs. Tote post. Today I'm going to show you how I made my crochet tote and give you tips to create your own. Sketch me!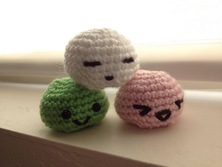 With any new project I start seeing it visually helps beyond words. So I suggest sketching out your idea on paper. Even trying the colors before hand can save you lots of time when it comes to making the tote itself. My inspiration for the Mochi bag comes from the picture on my site of the three mochi. It symbolizes myself and my two daughters. I'm usually feeling like the sleepy white one after chasing and playing with them all day. So I decided to sketch out a three band tote. Construction BasicsThis pattern can be customized so easily because it all starts with a basic rectangle on the bottom. Once you make the base (to the size of your bible or what you need) then you just work up the sides. For the mochi sections I crocheted 11 rows of single crochet in each of their colors.
Mochi Bible Tote © 2016 Mei Li Studios (For personal use only. Pattern must be linked back to if posting elsewhere on the internet please.) Stitch abbreviationsch = chain sc = single crochet fdsc = foundation single crochet sl st = slip stitch rnd = round Free PatternBag Row 1: Fdsc 32 in white. Row 2 - 10: Sc once in each st around - 32 sts Rnd 1: Sc in the back loops only around the entire base. - 75 sts Rnd 2-11: Sc once in each st around in white. - 75 sts Rnd 12 - 22: Switch to green yarn and sc in each st around. - 75 sts Rnd 23-33: Switch to pink yarn and sc in each st around. On the end rnd 33 fasten off with sl st. Hide any yarns and stitch the mochi faces into each section. - 75 sts Strap Row 1: Using two strands of Tan yarn with a long beginning tail fdsc 82, ch 1 and turn. - 82 sts Row 2 - 6: Sc once in each st, ch 1 and turn. On 6th row fasten off with sl st and leave long sewing tail. - 82 sts Assembly Sew each end of the strap to the sides of the bag and hide your threads. You're finished!Change the colors or make it all one color to suit your tastes. If you make a bag like this please post them to the Mei Li Studios Facebook page or comment below!
Late summer evenings and early fall are the perfect time to head to the grocery store for some marshmallows, chocolate squares, and graham crackers. Let's not forget the one day out of the year we can dress up as our favorite character or hero and not be weird! Though I don't care for the creepy side of Halloween the costumes and the sweet delicious candy is one of my favorites. (Might have something to do with my sweet tooth.) 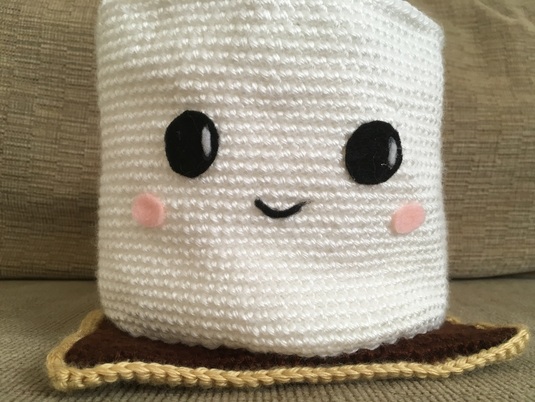 Who can resist this face? To that end I've been working on my fall pieces for the Etsy Shop. Now when I think of a white Halloween candy basket a white ghost is the typical thing that comes to mind. But since I didn't want to have a ghost for my first basket this year I tried to think of something else, and making it super cute was a given. 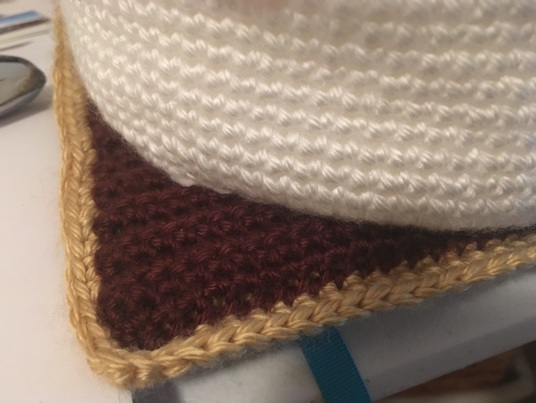 Chocolate..... Hence the S'mores Marshmallow basket! At first I was only going to do the marshmallow, but while working on the sketches and talking with ladies at the Phoenix Business Boutique they suggested doing the full s'more with the traditional graham cracker and chocolate. They didn't think just the marshmallow itself would really explain what it was, and I had to agree with them. 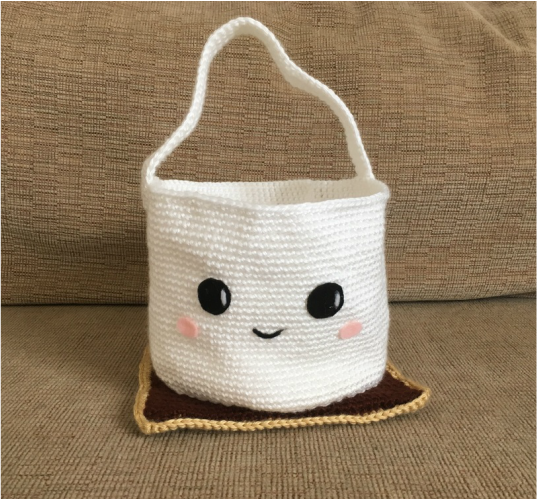 Now that it's finished I might want to make a second 'toasted' one with a silly face. Not sure how I will make it look right and toasted at the same time, but that's what a sketchbook is for! Now I just have to resist the urge to eat it. (Yes I know its crochet, but it's so cute and yummy looking!)
Starting in July the basket and the pattern will be available in the Etsy shop along with others from the Fall lineup. |

AuthorI've been crafting since early 2010 and have become "hooked" on crochet ever since. My inspiration often comes from my family and anything adorable. Latest from InstagramCategories
All
|
 RSS Feed
