|
Thanks to pheonixphire on Youtube for reminding me to post about the Drop spindle tutorial! I'm a frugal type of person. When you add creative to that you get a someone who will often try to make something they want out of the random things you find at home. After shopping for a drop spindle online (and drooling over the expensive and very pretty versions available) I decided to make my own! 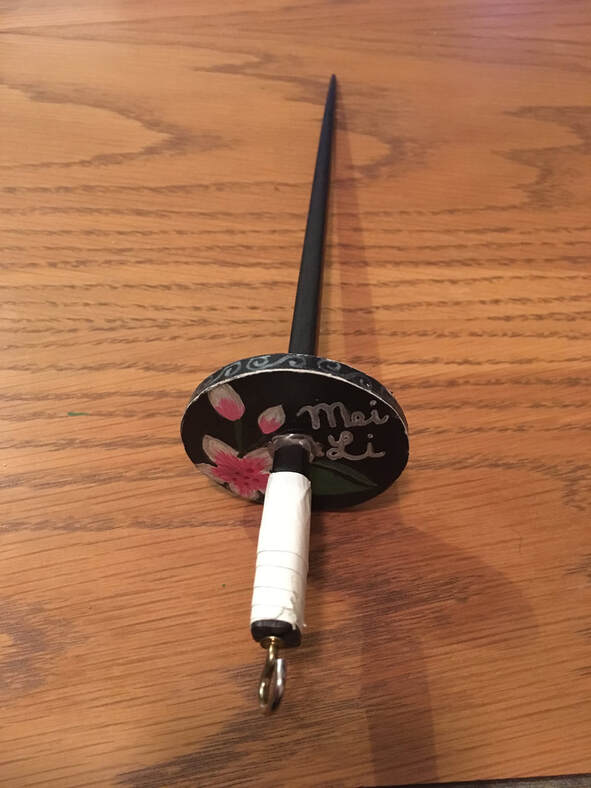 To make one you will need:
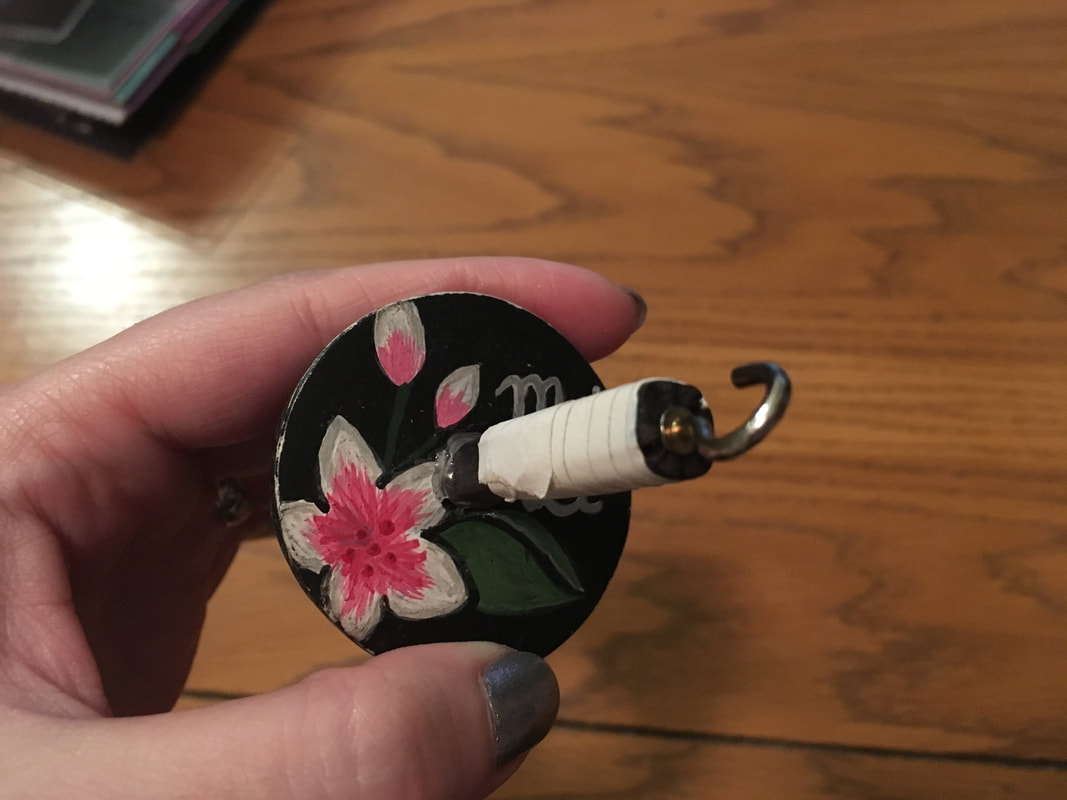
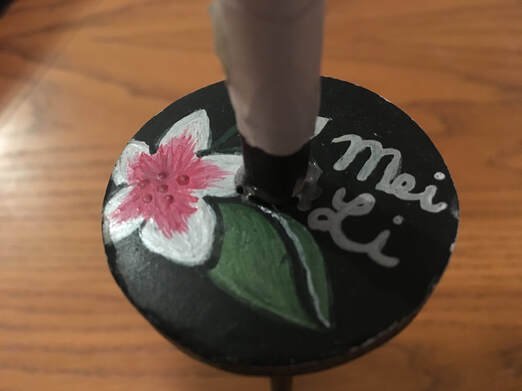 Start with the DiscBEFORE COOKING 1) Using polymer clay you'll want to roll out a round disc that is about 1/4" thick. You want something sturdy enough for regular use but also heavy enough to carry weight to help with pulling the yarn during spinning. 2) It's great to use something around your house like a cookie cutter or other similar round object to cut the shape of the disc. I used a cup I had and reformed the edge of the disc to even out any difference from top and bottom. 3) Using an awl or other slightly pointy object start a hole in the center of your disc. You can find the center by using a ruler to draw a VERY faint line down the center and do it again perpendicular to that line. (Math anyone?) You should have a VERY faint X shape on your disc to find the center. 4) Slowly make the hole about the diameter of your dowel. When you get close to the correct size fit your dowel into the center. (You need to be careful to do this slowly so you don't warp the shape of the disc.) COOKING THE CLAY 1) Follow your package directions to bake the clay and cool. 2) Paint with your favorite design! I used acrylic paints and covered it with a protective glaze.
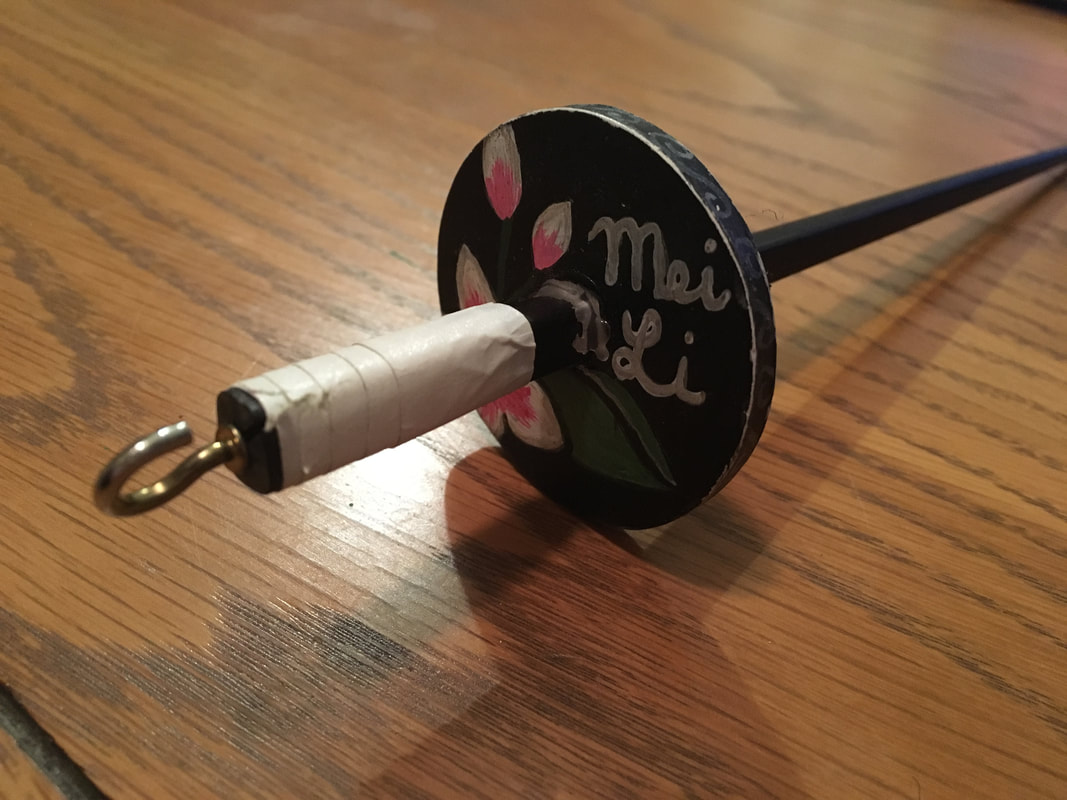
ASSEMBLY 1) Draw the X to find the center of your dowel as done with the disc and mark the center of the dowel. 2) Drill a pilot hole slightly smaller than the diameter of your hook. I purchased mine at the nearest Ace Hardware and there are variety of sizes to choose from. 3) Slowly screw the hook in. If it gets difficult to do you can use another stick to insert in the hook and turn it without hurting your hand. 4) Size your disc on the dowel for its position then mark with a pencil for the top where you don't want the disc to go past. 5) Using the hot glue gun lay down a bead of glue at this point. Let dry slightly and then put the disc against this and glue the other side. You can fill in any spots needing a little more glue and make sure the disc stays in place. 6) I would suggest painting your dowel now versus earlier as the disc would give you something to hang onto. Go give it a try! \^-^/NOTES ~I had a single black chopstick available so my drop spindle has a decreasing barrel. This has never bothered me in the slightest, though you may want to think about that when choosing the shaft of your spindle. It did come in handy because then the disc would only go so far down the chopstick before it would stop on its own. ~I didn't pre-drill the hole for the hook and this led to the chopstick cracking while I was installing the hook. (Hence the fancy looking tape to keep it together.) It's a good idea to keep the drilling you'll be doing in mind when choosing the size of the dowel you'll use. ~Over the years I've noticed the hot glue has worn down enough that the disc will move slightly, but this has never caused me an issue when spinning. ~You may want to put a "notch" in the disc to catch the spun yarn in. Sometimes when I've been spinning I will have to re-wrap it to secure the yarn down. Not a major issue by any means, I would say an annoyance rarely. ~A different material like wood may be a good option to go for. I've noticed the edge of my disc made of clay has worn down and over enough time would wear it down. Check out the video below for ideas for a wood version! HAVE QUESTIONS? LEAVE A POST BELOW! |

AuthorI've been crafting since early 2010 and have become "hooked" on crochet ever since. My inspiration often comes from my family and anything adorable. Latest from InstagramCategories
All
|
 RSS Feed
